How do I get started?
Import
Connect your Zendesk account with Translation Exchange and import your articles.
Translate
Invite your own translators, translate yourself or order professional translations in 100+ languages, right from our dashboard.
Publish
Publish translated articles with a single click. Your translated content will immediately appear in Zendesk.
Grow
Expand your reach to more customers in more countries. Add new languages easily and affordably.

Translation Exchange – Zendesk integration is easy!
-
Enable Localization support in Zendesk
In Zendesk Agent Dashboard main setting navigation menu, click “Account” > “Localization”. Under Languages section click on “Additional languages” to select more and save tab. Click on Zendesk Help Center, select “General” > “Help Center Settings”. Scroll to “Additional Languages” section to enable languages for Help Center.
-
Sign up with Translation Exchange
Go to Translation Exchange to create a new account, and get started with with your first project.
-
Connect your Zendesk account.
Open Translation Exchange Dashboard >Connectors and choose the Zendesk Connector. Click on “Install Connector”, you will be prompted to log in to your Zendesk account and authorize the application.
-
Import your Zendesk articles.
Once the connector is installed, open the project you installed it to and click the “Import” button from the dashboard. Choose the Zendesk connector and select the Articles, Categories, or Sections you would like to translate and click on “Import & Continue”. Your articles are now imported and are ready to be translated.
-
Publish translated templates back to Zendesk.
Once you are done with translations, click on the “Publish” button next to the language you want to export back to Zendesk. Your translated articles will appear in Zendesk under language you published. Make article publishable to malke it visiable in Hell Center for selected language.

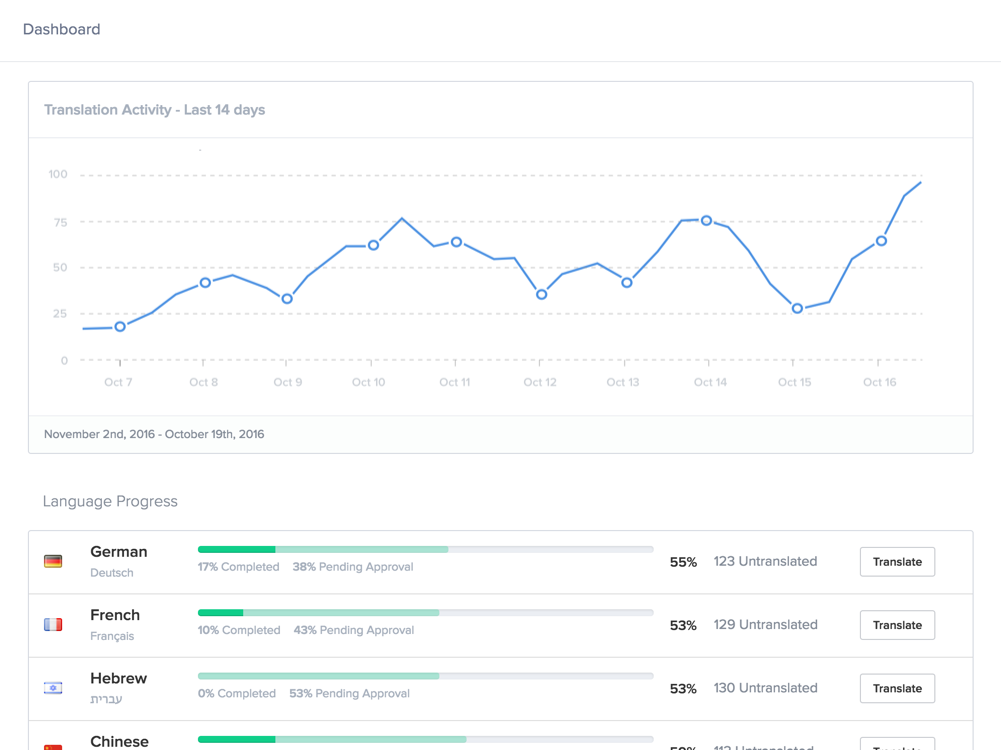
Keep track of your localization progress
Get detailed reports on how your localization and translation are progressing.

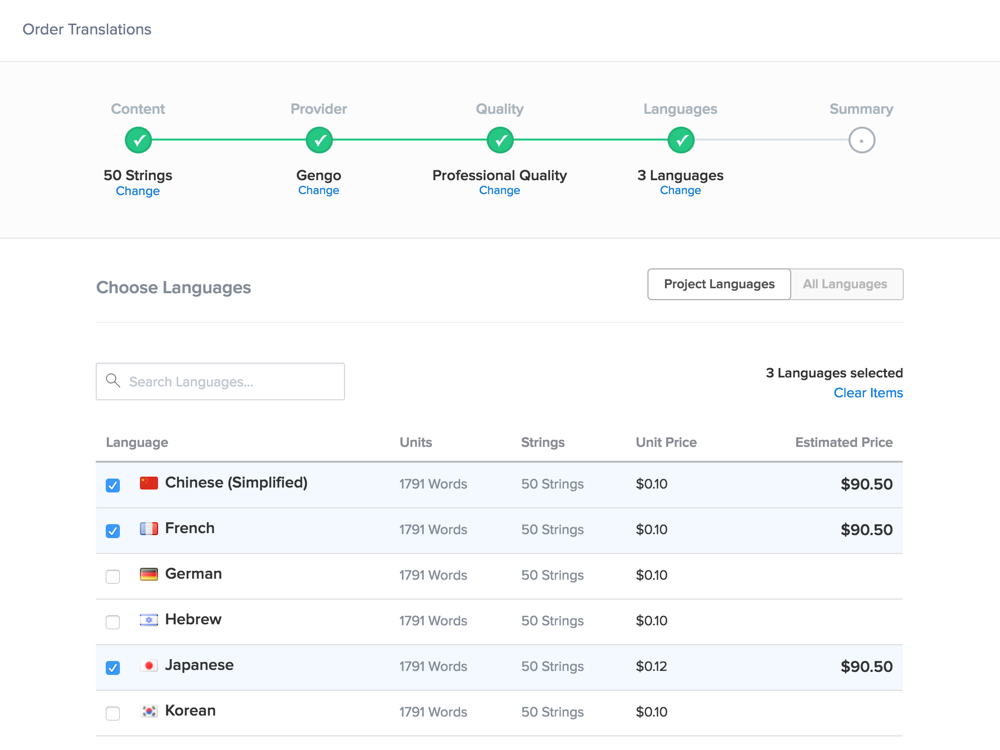
Choose how you want to translate
Invite your own translators or order professional translations from our network of 15,000+ on-demand translators with just a few clicks.

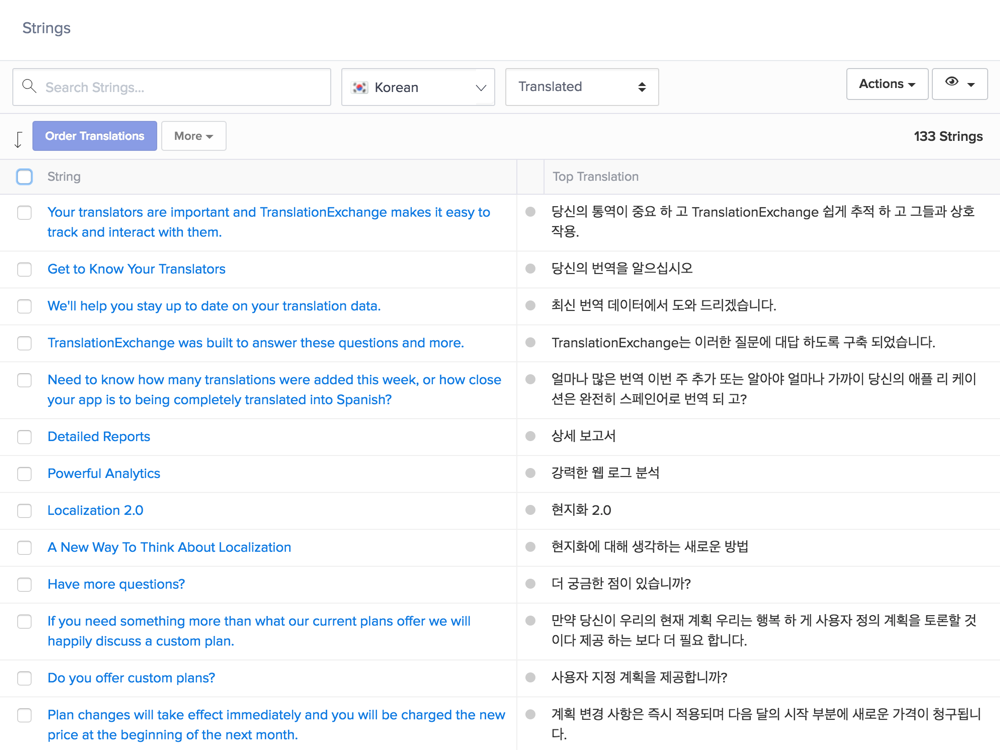
View all your translated content in one place
Access all your digital content from our dashboard and review your latest translations